The Crypto Bone Control Program
The Crypto Bone is a separate and isolated device, that does nothing, except you send it certain commands over an encrypted tunnel. Within these commands a local secret that only you know must be included to prove that you're the legitimate user. And before the Crypto Bone even starts to do something it has to get the masterkey via a Secure Shell connection from your local Linux computer. All this happens without your intervention in the background and it starts with booting your computer and using the cryptobone GUI program.
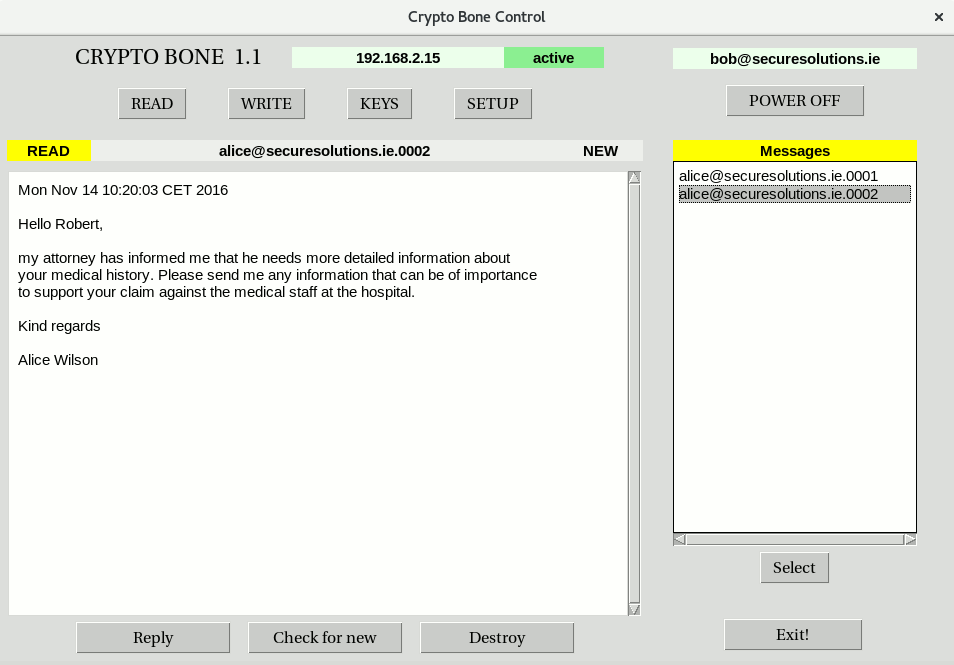
The most convenient way is to use the cryptobone GUI program to operate your local or external Crypto Bone.
The "cryptobone" GUI starts in its default mode "ALL-IN-ONE", so it would use the software-only version of the Crypto Bone which is installed on the local computer already. You can use this mode as long as you don't possess a Beagle Bone or Raspberry Pi or a second Linux computer. Once you'd like to use an external Crypto Bone on a separate hardware, you can switch over by hitting the button "Use EXTERNAL Bone" in the SETUP menu. It's also very easy to switch back to ALL-IN-ONE mode (and back).
What actually happens is that the commands, destined for the Crypto Bone, which are generated by the cryptobone GUI, are send to the "cbcontrol" process on the local computer. If the mode is ALL-IN-ONE, the commands are executed by this process as it would be on any external Crypto Bone. If you're in EXTERNAL mode the commands are send directly to the external device via a secure SSH link.
Unless the masterkey is missing, you won't even notice that the "cbcontrol" process uploads the masterkey to the real Crypto Bone, as this is done automatically when you use it.
In order to be able to reach the external Crypto Bone, the "cryptobone" GUI has to know its IP address that the router assigned to it. When you use the external Crypto Bone for the first time, its IP address is unknown and must be found out by the "cbcontrol" process. So, when you've selcted EXTERNAL mode, starting the GUI will initiate a local network scan that can take a while to complete.
Please be patient while your Linux computer is searching for your Crypto Bone. This very slow process will only be necessary once, because when the Crypto Bone's IP address has been established it will be stored into a configuration file "/usr/lib/cyptobone/cbb.config" for further use by the cryptobone GUI program. Please don't interrupt the network scan which can take some time to complete. Please watch out if the ssh connection requres an acknowledgement of the new device's host key. You must enter "yes" to accept the new host key (as root).
BoneIP=192.168.2.11
At the moment it is assumed that the IP address found does not change. If this happens you need to remove the config file as root and the network scan can start again. It may also become necessary to delete the old host key (as root) too, if you replace the SD card image and start freshly, because every new external Crypto Bone generates its own unique ssh host key.
Preparation of the SD Card
If you've never used your external Crypto Bone before, you need to set up the SD card or USB drive first. The current image file needs to be written to the SD card to establish a bootable base system. Writing this image file is the only task you cannot do with the GUI program "cryptobone" at the moment, because you need to be absolutely sure that you use the correct device for writing as root.
See the installation instructions for this first crucial step, for which you need root permissions on your local Linux computer.
The Creation of the Three Secrets
It's time to insert the prepared SD card into your Beagle Bone or Raspberry Pi for the first boot.
While first booting your external device, no matter if it's a Beagle a Pi or a Laptop, the device starts to generate three random secrets a "masterkey", a ssh RSA key pair and a "local.key" which are written into the first partition of the SD card or USB drive. This partition is labelled "BOOT" and will appear on your main machine, when the secrets are copied to their proper locations.
After a while the Beagle Bone and the Raspberry Pi have finished and will shut down automatically. Just wait until there is no further activity on the device, then you can power off your device and remove the SD card.
The all-important first step to initialise the Crypto Bone as your personal crypto engine is finished now.
Now you can insert the SD card or USB drive into your local Linux computer. Once the "cryptobone" GUI has recognized the BOOT partition on the SD card, hitting the button "Setup EXTERNAL Keys" will transfer the keys from the SD card or USB drive to the Linux computer's hard disk.
From now on, you can leave the SD card in your Beagle Bone or Raspberry Pi which has become your personal Crypto Bone by now.
On the second boot, the Crypto Bone will remove the secrets it had written to the filesystem on the SD card previously, leaving the secrets on your main Linux machine only. Without the secret information in your main Linux computer the external Crypto Bone's key database cannot be used, because the masterkey is necessary to decrypt the database which is stored encrypted on your external device.